From inbox to Expenses archive
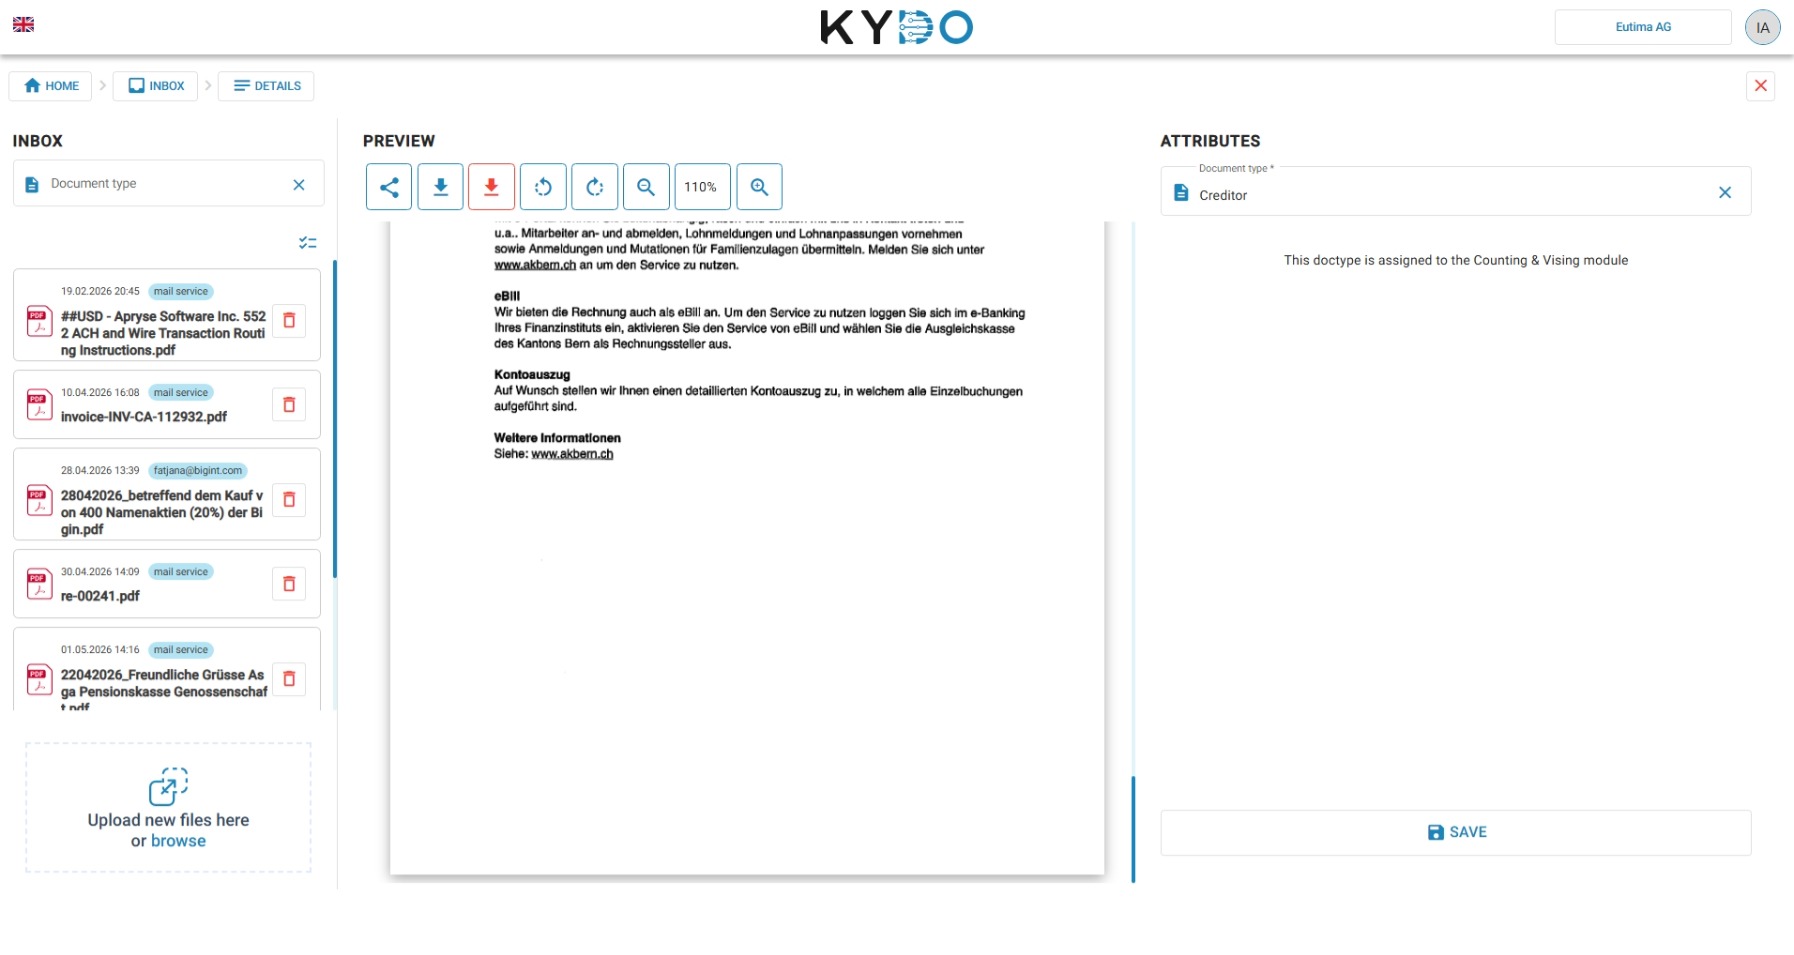
Documents reach KYDO from multiple sources — email, scan, manual upload, and others. When you process a document in the inbox, you select its document type.
If the document type is linked to the accounting module, you do not need to fill in any attributes. Click Save and the document is sent directly to the archive.
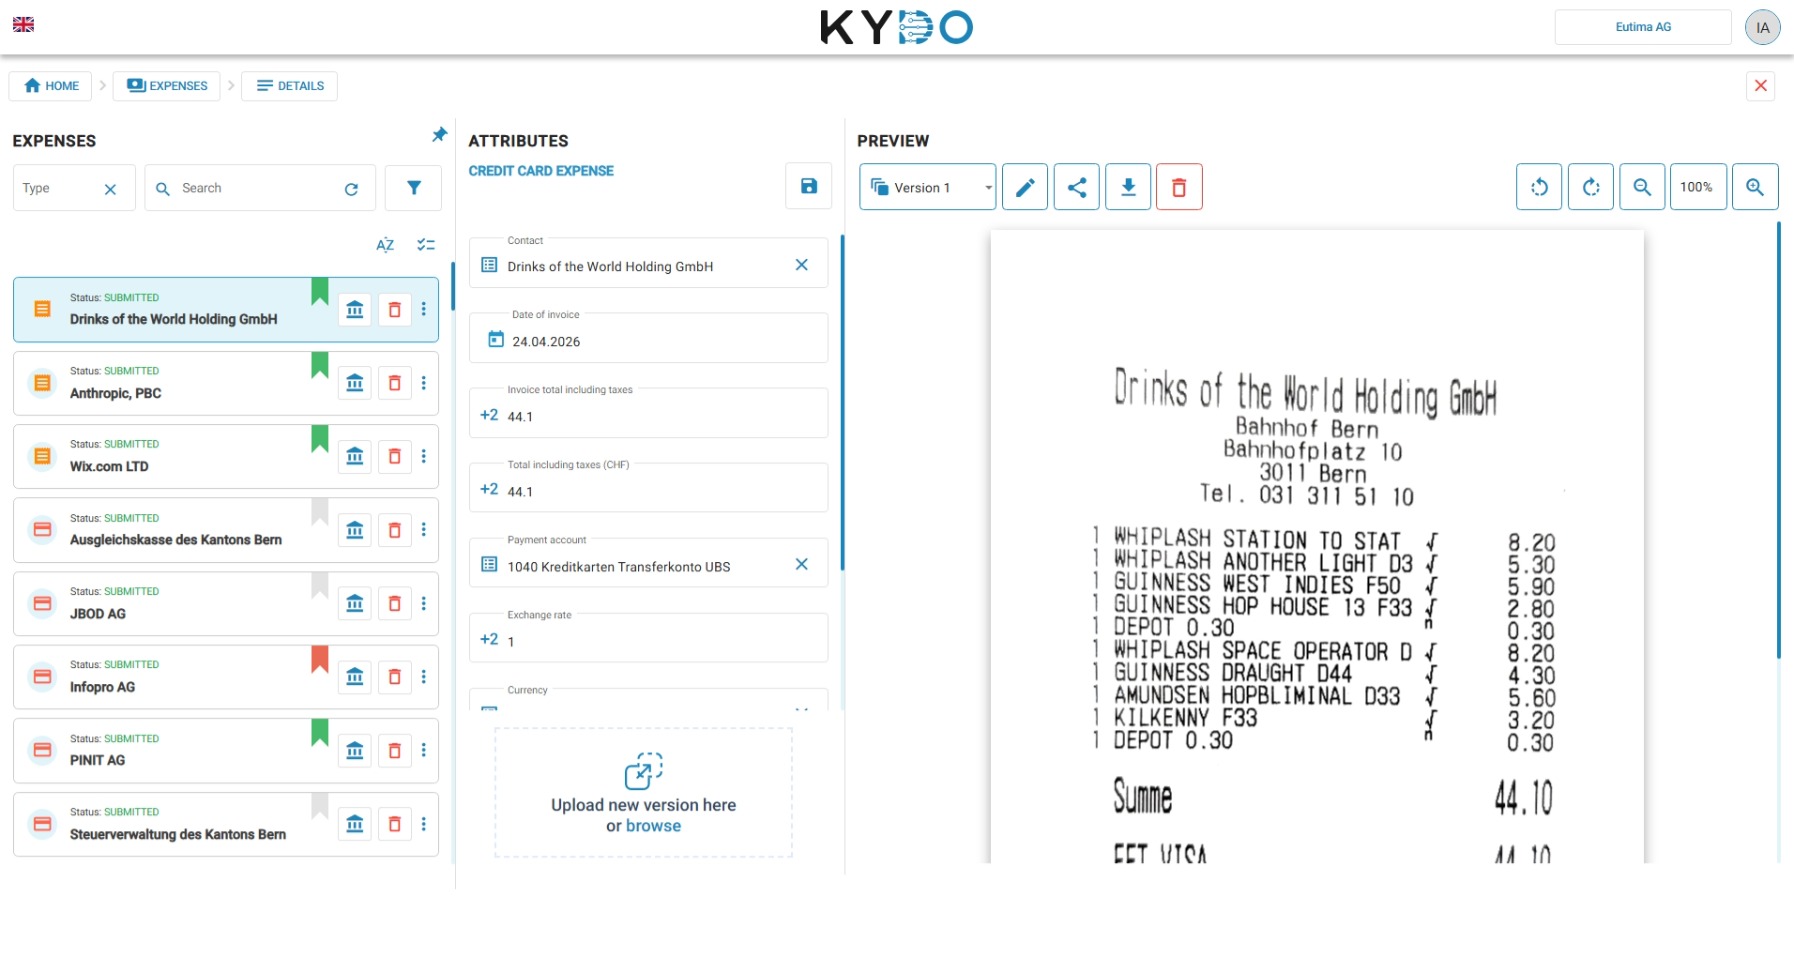
The Expenses archive
When the accounting module is active, you will see an Expenses archive alongside the global archive. The global archive contains all your documents, including expenses. To process expenses further — assign bookings, add visers, and transmit them — work from the Expenses archive.
Data extraction
When you open a document in the Expenses archive, KYDO reads its data automatically.
- With AI Service active: KYDO extracts nearly all relevant fields — amounts, dates, supplier information, and more.
- Without AI Service: Only QR code data is parsed where present.
→ See AI Service
Filling metadata and validation
Review the extracted data and fill in any remaining fields. When ready, click Save.
KYDO runs a set of validations before the document can proceed. If something is missing or incorrect, KYDO tells you what to correct. Fix the flagged fields and save again.
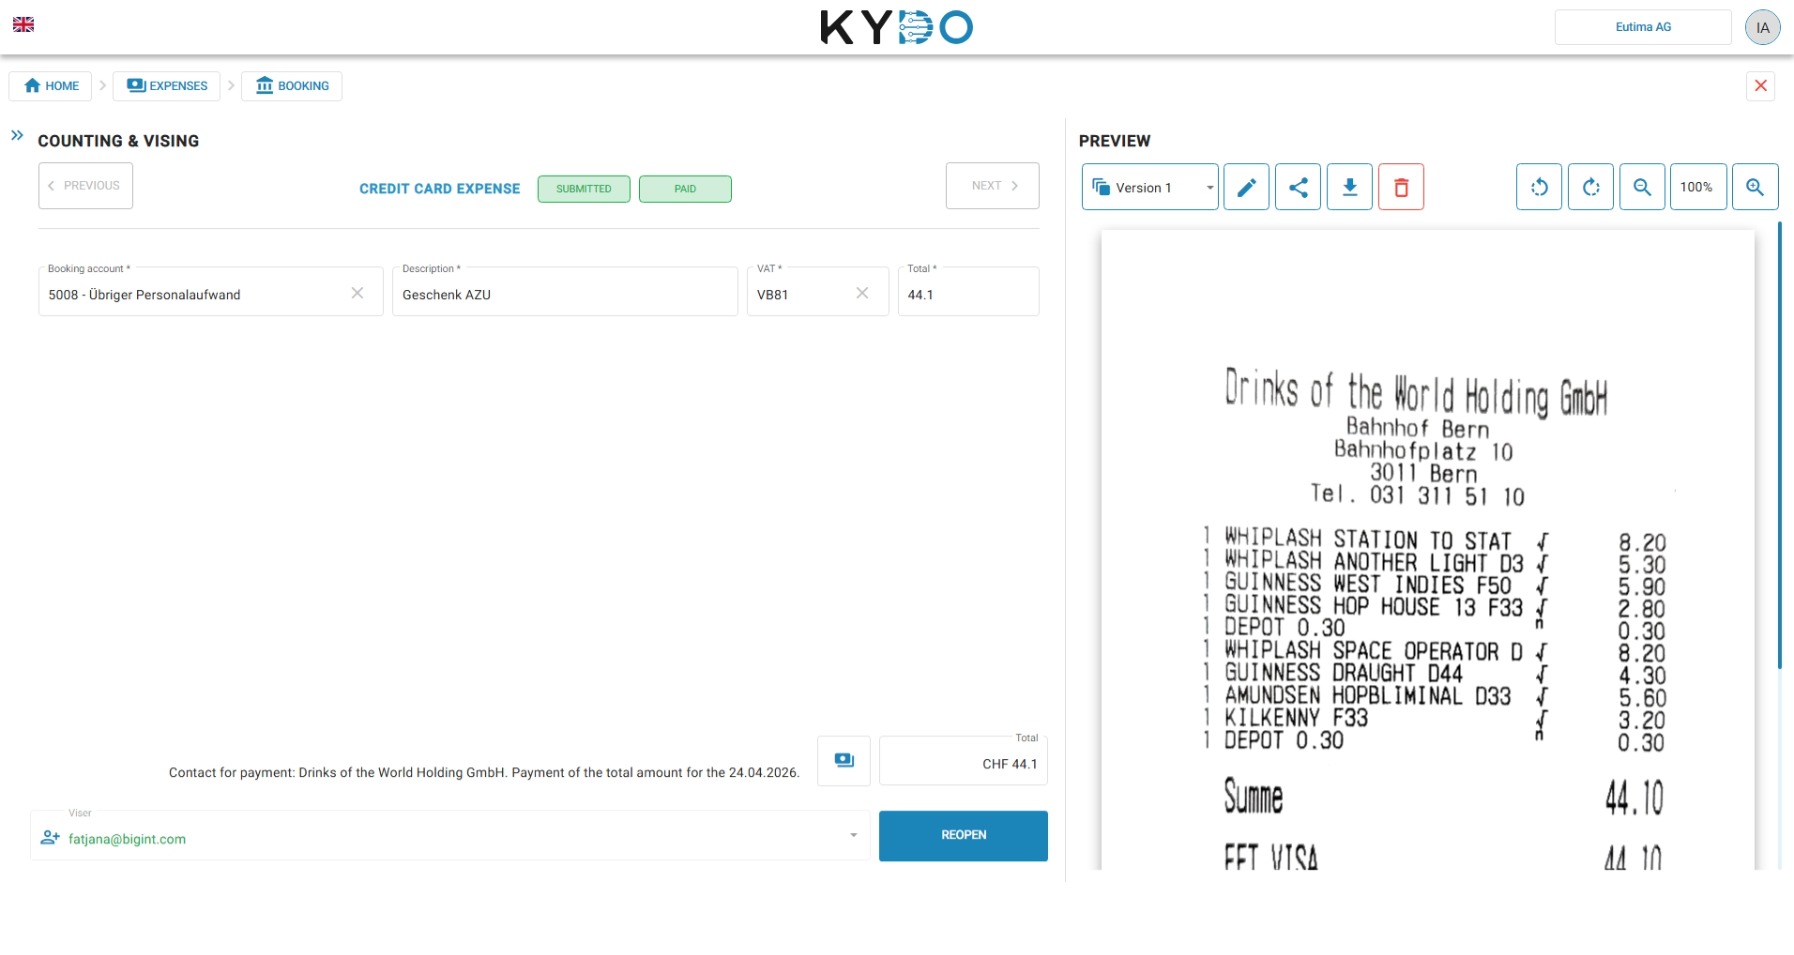
Booking and vising
Once the document passes validation, click the accounting icon (the temple icon) to switch to the accounting view.
Here you can:
- Assign the booking — select the accounts and booking details for this document.
- Select visers — assign one or more people who must approve the document before it proceeds. We recommend that visers configure the Pending on me dashboard notification so they are reminded each morning of documents awaiting their approval. → See Notifications
- Vise it yourself — if no additional approval is needed, you can vise the document directly.
After vising
What happens next depends on your accounting setup.
Connected accounting software
If you have connected an accounting system (such as Bexio), KYDO automatically syncs the document and its booking data. Payment status is updated automatically once the payment is processed in your software.
Manual accounting
With manual accounting, the document remains in a vised state. To transmit payment information to your bank:
- Go to the Expenses archive.
- Select the invoices you want to pay.
- Click Generate PAIN file in the toolbar.
The PAIN file contains the payment data your bank needs to process the transfer.
Note: Only invoices are included in the PAIN file. Expenses that have already been paid are excluded.
Payment status can be updated manually on each document, or automatically using the Reconciliation module.
→ See Reconciliation
Frequently Asked Questions
What is a viser in KYDO? A viser is a person assigned to approve a document before it is transmitted to the accounting software or bank. A document must be vised by all assigned visers before it can proceed.
Who can vise a document? Users with the Admin, Standard & CV-Viser, or Standard & CV-Editor role can be assigned as visers on an expense.
What is a PAIN file? A PAIN file is a standard XML payment file (ISO 20022 format) that contains the payment instructions for your bank. In manual accounting, you generate a PAIN file from selected invoices to initiate bank transfers.
What happens after an expense is vised? If connected to an accounting system, KYDO syncs the document and booking data automatically. With manual accounting, the document stays in a vised state until you generate a PAIN file or mark it as paid manually.
Can KYDO read QR invoices (QR-Rechnung)? Yes. KYDO automatically parses QR code data from Swiss QR invoices and pre-fills the document fields accordingly.